Any home renovation project can be costly, but this is even more true for those involving your kitchen or bathroom countertops. The materials and necessary labor that come with replacing your countertops can be prohibitive and makes such projects nonsensical. However, there are some ways to give your countertops a makeover without breaking the bank. In this article, we will discuss 13 unique, budget-friendly DIY projects that will have your counters looking like new.
DIY faux granite countertops
Turn your old laminate countertop into a faux granite surface to get a high-end look for just $100 to $200. This DIY project will give you a quick, cost-effective, customizable, and easy to maintain countertop that will look great. First, you will need to prepare the surface by lightly sanding the countertop to create a rough surface for better primer adhesion. Then apply the primer and let it dry properly. Next, you can apply the base coat from the faux granite paint kit. Once that dries, use a sea sponge to add other paint colors and lightly dab them onto the countertop. This will give it the realistic granite texture. Use a fine paint brush to create veins and highlights. When it has dried properly, apply a clear topcoat sealer to lock in the look you want.
New laminate over old laminate tile countertop
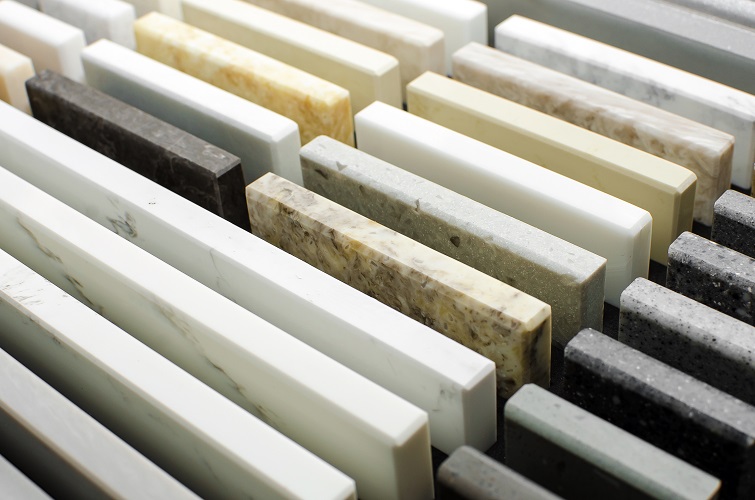
Another great way to renovate those old laminate tile countertops is by simply putting new laminate tile over it. This is a budget-friendly alternative to replacing the entire countertop, can be done quickly, and gives you the freedom to choose the color and pattern that best suits your space. You will start by sanding the old laminate to give it a slightly rough texture. Measure your countertop and cut the new laminate sheets accordingly. Allow for some overhang on each side of the counter. Cover the old laminate surface and the back of the new laminate sheets with contact cement. Once the cement becomes tacky, position the new laminate sheets on the counter and use the roller to press it down firmly and evenly. Use a saw and routing tools to trim the excess overhanging and then contour to match the existing counter. With consideration for the size of the counter being worked on and the quality of the laminate selected, this project will cost anywhere from $100 to $300.
DIY Solid surface countertop
While it can be more costly than other options and is only recommended for experienced DIYers, replacing your countertops with a solid surface fabrication, such as HIMACS from LX Hausys, can be a great choice. It comes with the benefits of being customizable, durable, and having a sleek appearance for as little as $800. Start by measuring your current countertop and make note of any cutouts needed. Use a circular or jigsaw to cut the solid surface sheets based on your measurements while leaving a slight overhang. Apply the adhesive to the surface of your existing countertop as well as the new surface and then carefully align and press them together using even pressure. Sand the countertop surface to remove any rough edges and gradually work your way to a finer grit for a smooth finish.
Refinishing DIY pour in place concrete countertop
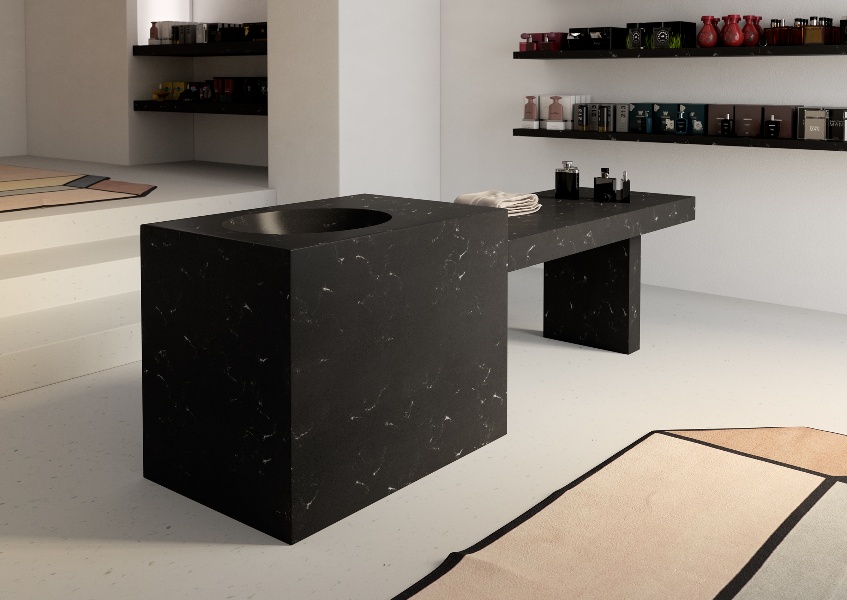
Going for a more modern, industrial look with your countertop renovation? Consider refinishing your countertop with pour-in-place concrete for around $200 to $500. This DIY project will give you a unique countertop that is durable and long-lasting. Get started by planning the layout and design of your new countertop. Be sure to account for any sink or faucet holes that it will need. Cut melamine boards to your desired dimensions and assemble the mold. Apply the release agent to the inside of the mold to prevent the concrete from sticking to it. Place the steel mesh or fiberglass in the mold. You can then mix and pour the concrete into the mold. Use a concrete vibrator to remove any air bubbles and ensure an even surface. Use a trowel to level the concrete and create any patterns or designs you desire. Cure the concrete using a plastic sheet to allow it todry properly for at least 48 hours. Afterwards, you can remove the mold and apply the sealer.
Resurfaced tile DIY countertops
Resurfacing a tile countertop is a budget-friendly way of breathing new life into your kitchen or bathroom. This process involves using a countertop resurfacing kit that typically includes primer, a bonding agent, and a decorative coating. After lightly sanding your existing countertop and applying the primer and bonding agent, you can unleash your creativity by adding your chosen decorative coating. Follow the manufacturer’s guidelines for drying time and the recommended number of coats then finish by sealing the countertop. This approach is not only cost effective but also allows you to customize the look to match your décor, and it can often be completed over a weekend with minimal disruption. Anticipate spending between $120 and $250 for a typical countertop resurfacing project.
DIY painted faux marble countertops using contact paper
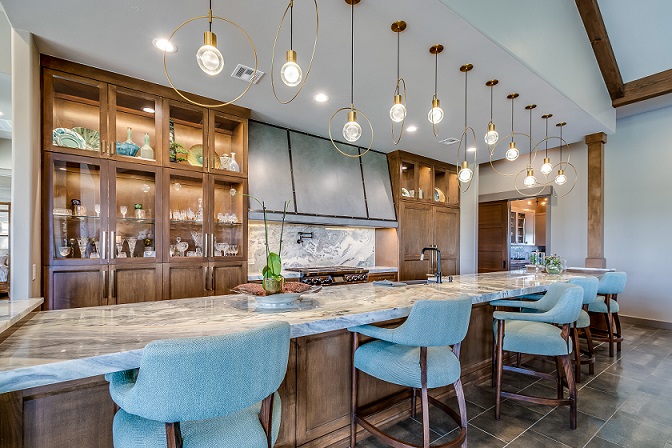
Transforming your countertop with a painted faux marble finish using contact paper is a wallet-friendly way to infuse elegance into your kitchen or bathroom without the hefty cost of genuine marble. This project is easy and can yield striking results. All you need is marble-patterned contact paper, a bonding primer, a few paintbrushes, and some acrylic paints. After prepping the surface with the primer and applying the contact paper, use paint to craft realistic marble veining. Finish by sealing the surface with a clear topcoat. The cost is minimal, usually ranging from $20 to $50, making this project an affordable and rewarding way to enhance your space. This DIY project is not only quick but also customizable with multiple colors and patterns to choose from, and it will give you a surface that is easy to clean and maintain.
Copper sheeting
You can transform your countertops for as little as $200 by using copper sheeting to introduce a rustic and attention-grabbing element to your kitchen or bathroom. While this project involves a bit more complexity, the results are remarkable. The process includes adhering the copper sheeting to your countertop surface with a strong adhesive, securing it with copper nails or rivets for a decorative edge, and using copper epoxy or soldering equipment to seal seams and gaps. This project offers a unique and customizable aesthetic, as you can choose the thickness and finish of the copper sheeting to complement your décor. With proper care, copper surfaces can last for years. The relative ease of maintenance further enhances its appeal.
Peel and stick countertop with wallpaper
Revamping your countertop with peel-and-stick wallpaper is another inexpensive way to give your kitchen or bathroom an easy refresh. This is a straightforward project that offers a diverse array of design options to match your interior décor. To get started, thoroughly clean your existing countertop. Apply the peel-and-stick wallpaper with a squeegee to eliminate air bubbles and ensure it adheres smoothly to your original countertop. Trim any excess wallpaper neatly and seal the surface with a clear topcoat to protect it from wear and tear. The costs typically range from $50 to $150 for materials for a countertop that is affordable, customizable, provides quick results and easy maintenance.
DIY butcher block countertops
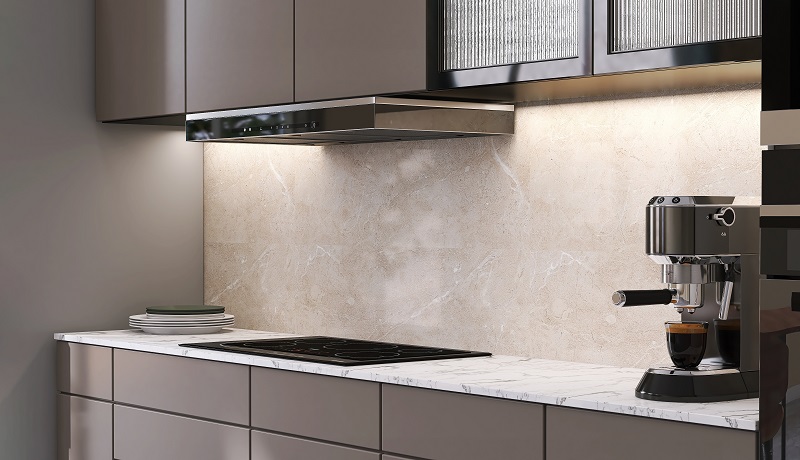
Creating your own butcher block countertop will bring the warmth and natural beauty of hardwood into your kitchen. Begin by selecting top-quality hardwood planks, cutting them to size, then joining and reinforcing them with wood glue, biscuits, or dowels. After the glue cures, trim and sand the surface to perfection, ensuring a smooth and even countertop. Finish it with a food-safe sealer to protect the wood and provide an attractive sheen. The cost varies depending on the size and type of wood used, but the investment typically ranges from $200 to $500. This beautiful and unique kitchen surface is solid and durable to withstand the chopping and general wear and tear that comes with any kitchen. With regular resealing, you will ensure your countertop will last for a long time.
High gloss resin countertops
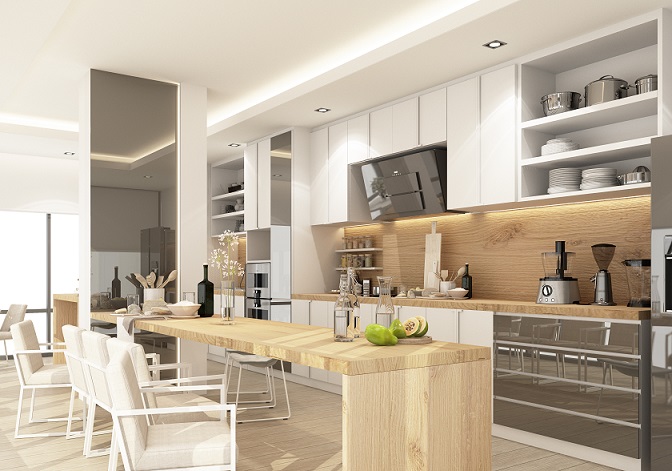
A high gloss resin countertop will give your kitchen or bathroom a strikingly modern and sleek element. While this DIY project will require meticulous attention to detail, it will be worth the extra concentration. You’ll start by preparing the surface, applying a bonding primer, and mixing the epoxy resin and hardener according to the manufacturer’s instructions. Carefully pour and spread the epoxy over the countertop, and use a heat gun or torch to eliminate air bubbles. After a curing period of 24 to 72 hours, sand and smooth the surface for a flawless finish. Depending on the epoxy used, you may also need to apply a clear sealant to maintain the high gloss. Costs can range from $100 to $300, depending on the size and materials used. Epoxy resin countertops are a great choice for any busy kitchen as they are known for their durability, resistance to heat and stains, and ease of maintenance.
Chalk paint with wax refinish
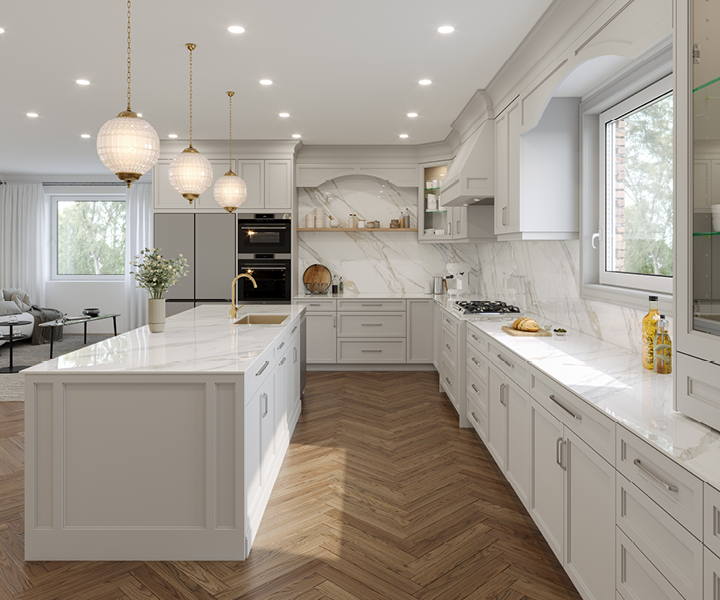
Refinishing your countertop with chalk paint and a wax finish is an affordable and creative way to revitalize your kitchen or bathroom. You will first need to prepare the surface and, if necessary, apply a bonding primer. After you have prepared the surface, brush the chalk paint onto the countertop. Once the paint dries, apply the protective wax finish to the counter to seal the painted surface. The greatest benefit of this DIY project is the cost, as it will only amount to $30 to $50. Additionally, it allows you to completely customize the color and design of your countertop
Pennies countertop
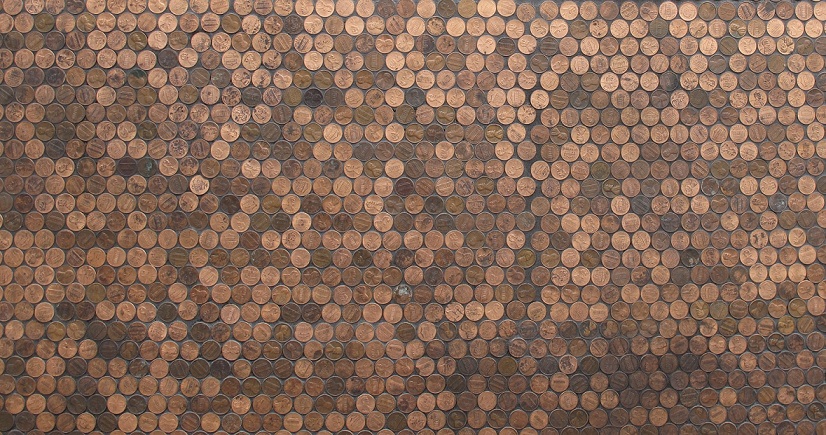
A penny countertop is a striking and inventive way to infuse character into your kitchen or bar area. The process uses pennies to create a mosaic-like pattern over your already existing countertop. Once the pennies are securely fixed to the surface of your existing countertop, pour a glossy layer of epoxy resin over them to seal the pennies in place and give your counter a fresh new sheen. The costs typically range from $100 to $300, depending on the size of the counter, but this style will give your home a distinctive and conversation-worthy feature. The pennies countertop will provide you with a resilient and easy-to-maintain surface.
Resurfacing with epoxy over laminate tile countertop
A great way to revitalize your old laminate tile countertops and avoid the need for a costly replacement is by using an epoxy to resurface your counter. This will give you a durable and sleek looking countertop that can be completely customized to fit your desired look as well as being easy to clean and maintain for as little as $100. Start by thoroughly cleaning your existing counter and applying a bonding adhesive primer. Next, you’ll mix and pour the epoxy resin evenly over the countertop. Use a squeegee or spreader to create a smooth and level finish, while using a heat gun or torch to remove any air bubbles. The epoxy is then left to dry for 24 to 72 hours.
Contact us
Thinking about starting your DIY project to revitalize your countertops? Get started by looking exploring LX Hausys’ website for design tips and inspiration. Contact one of our experts to further discuss your project and get all of your questions answered by completing the form on our website.
