There are many reasons why vinyl flooring is a popular choice for homeowners. From its ability to mimic natural materials to its relatively minimal upkeep, it’s easy to see the appeal. Another primary reason that attracts consumers to vinyl flooring is its ease of installation. Easy installation often saves homeowners a significant amount of money, allowing the homeowner the opportunity to install the flooring themselves. In this article, we will explore whether vinyl is the best for you by examining the tools and materials you will need, followed by five simple steps to follow when installing your vinyl floors.
What you will need for installing vinyl flooring
Vinyl can typically be installed using tools that most homeowners already own. Here is what you will need:
Tools
- Utility knife – to score the vinyl when cutting. You could also use a jigsaw or miter saw instead.
- Tape measure
- Chalk line – to make a straight line to follow when laying your vinyl
- Straight edge or carpenter’s square
- Vacuum
- Rubber mallet or hammer
- Pry bar – to remove baseboards and molding
- Safety equipment such as goggles, work gloves, and knee pads
Materials
- Vinyl flooring – We recommend buying 10% to 20% more than you will need to cover your space to allow for trimming and any necessary repairs. There are three different types to choose from.
- Interlocking vinyl will create a floating floor and allow you to snap the planks together using tongue-and-groove joints.
- Peel-and-stick vinyl has an adhesive backing that you will stick to the subfloor.
- Glue-down vinyl features a glue-like adhesive to adhere the vinyl to the subfloor.
- Vinyl adhesive (if using vinyl that needs to be glued down)
- Sandpaper
- ¼ inch spacers
- Floor-leveling compound
Guide for Vinyl Flooring Installation

Step 1. Plan for the flooring layout
Before laying down the vinyl, you’ll need to prepare the subfloor and plan the layout. Preparing the subfloor can often be the most challenging step in the entire process. After removing your previous flooring, you need to ensure the subfloor is level. You can use a floor-leveling compound to fill dips or sand down bumps if necessary. Protruding nails should be pounded down or removed and replaced with screws. You will also want to remove any other debris using a broom or a vacuum.
Once you have prepared the subfloor, you should plan what pattern you will use to lay down your vinyl. Patterns can range from very basic to somewhat complex. Generally, the more complex your design, the more preparation and planning you’ll need. If you’re keeping it simple and planning to lay your vinyl in rows, here are a few things to consider:
- Decide which direction you are going to lay your vinyl. We recommend identifying the most visible wall from the entrance of the room. Typically, this is whichever wall catches your eye as you enter the room. You’ll want to lay the vinyl parallel to this wall.
- Plan to stagger your rows. You want to avoid having the end joints of each row line up together. Manufacturers generally recommend staggering the seams of each piece by six to eight inches. Generally, you will need to trim a plank in each row to fit, so alternate the side of the room each row ends on.
- Divide the width of the room by the width of the planks. You will want to ensure that your final row’s width will be at least half the width of the planks. For example, if your vinyl plank is six inches wide, you’ll want to avoid cutting it to less than three inches wide. If the final row doesn’t fit this specification, offset the difference by trimming the width of your first row accordingly.
Step 2. Remove the baseboards

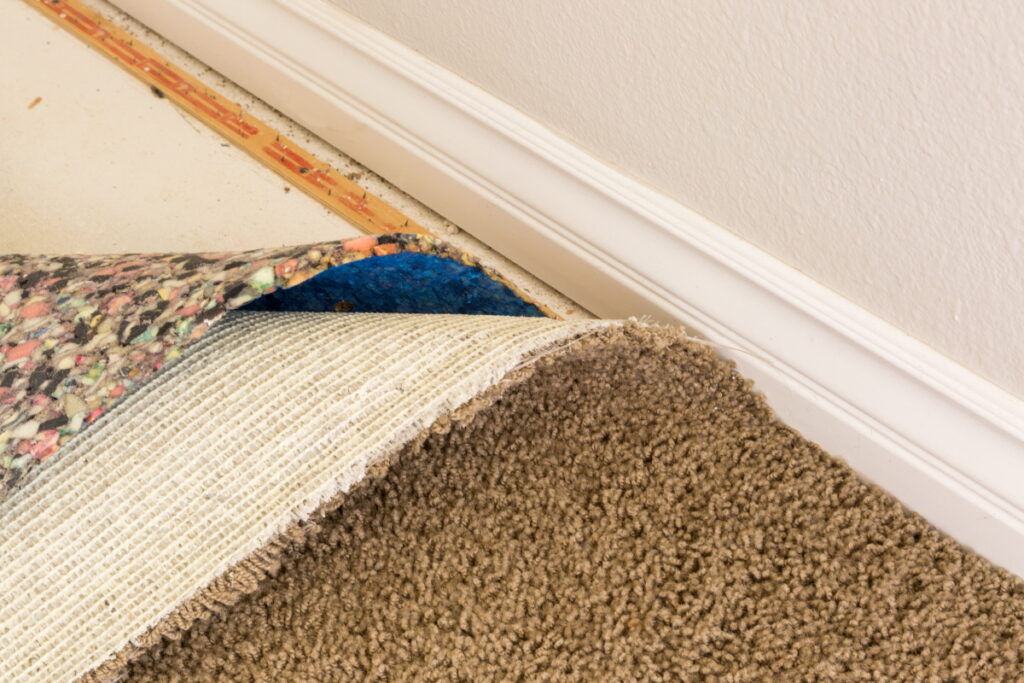
Before installing your vinyl floors, you need to remove any baseboards or trim moldings that make contact with the floor. Removing any doors from their hinges can also help make installation easier. Baseboards and molding are relatively easy to remove using a pry bar. Just be careful to avoid damaging them so you can reinstall them when you’ve finished laying your floor. If you skip this step, you may have some awkward gaps between the wall and your floor.
Step 3. Lay your first row
It is finally time to lay your first row of vinyl. Lay your first row of vinyl along the most visible wall you identified when planning your layout. We recommend snapping a chalk line down to ensure your row is straight. Cut off the tongues of the vinyl planks in each row as you lay them to avoid leaving a visible gap between the blanks and the wall. Be sure that your vinyl is one-quarter inch from the walls to leave room for expansion. From here, lay out the remainder of your floor, working from that most visible wall towards the door. Laying your vinyl will vary slightly depending on whether you choose interlocking, peel-and-stick, or glue-down vinyl flooring.
Step 4. Cut vinyl planks to size
Cutting vinyl to size is easy and requires standard tools, including a utility knife, a tape measure, and a straightedge. Start by measuring your vinyl planks to the correct length to fill your space. Then score the vinyl plank using a utility knife and a carpenter’s square or straightedge to ensure your cut is straight. Finally, fold back the plank along the score and snap it off. Alternatively, you could cut the vinyl with a jigsaw or miter saw. In this case, we recommend cutting it outside, as vinyl can make quite a mess when cut with power tools.
Step 5. Fit your final planks and reinstall baseboards

As discussed in the planning stages, you will likely need to cut your final row along its length to reduce its width to fit your layout. Use a long straightedge to ensure your cuts are straight, and remember to cut it enough to leave one-quarter inch of space between the wall and your vinyl for expansion.
Once you finish installing your floor, reinstall your baseboards and moldings. This should be relatively easy if you leave that one-quarter-inch gap. Fit your baseboard on the wall and recess the nail heads into the surface of the trim. Consider using a pneumatic brad nailer for this step, as a hammer may damage the trim.
Contact Us
LX Hausys’ knowledgeable staff members are standing by and ready to help you find the best vinyl flooring that is easiest to install! Contact us using the form on our website; we will reply quickly.
