Vinyl plank flooring has experienced an unprecedented surge in popularity in recent years, and for good reason. Its ability to replicate the natural look of wood while providing unmatched resistance to moisture, stains, and scratches has made it a sought-after flooring option. Not only does vinyl plank flooring enhance the aesthetic appeal of any space, but it also offers practical benefits, making it ideal for rooms susceptible to water exposure or homes with children and pets.
What sets vinyl plank flooring apart is its remarkable ease of self-installation. Unlike many other flooring options, vinyl planks can be installed without the need for professional assistance, saving homeowners both time and money. In this comprehensive guide, we will walk you through each step of the installation process, empowering you to successfully integrate vinyl plank flooring into your home with confidence and ease.
Instructions for Vinyl Plank Flooring Installation
Step 1: Remove the Baseboards and Molding
Kick off your project by carefully removing all baseboards. This ensures that your new flooring fits snugly against the walls, eliminating gaps. Use a pry bar to gently detach the baseboards. If they are stubbornly stuck to the wall, use a putty knife to chip away layers of paint.
Step 2: Create a Plan for Your Vinyl Plank Floors
Visualize the final look of your flooring. Do you prefer a straightforward layout or a more intricate pattern?
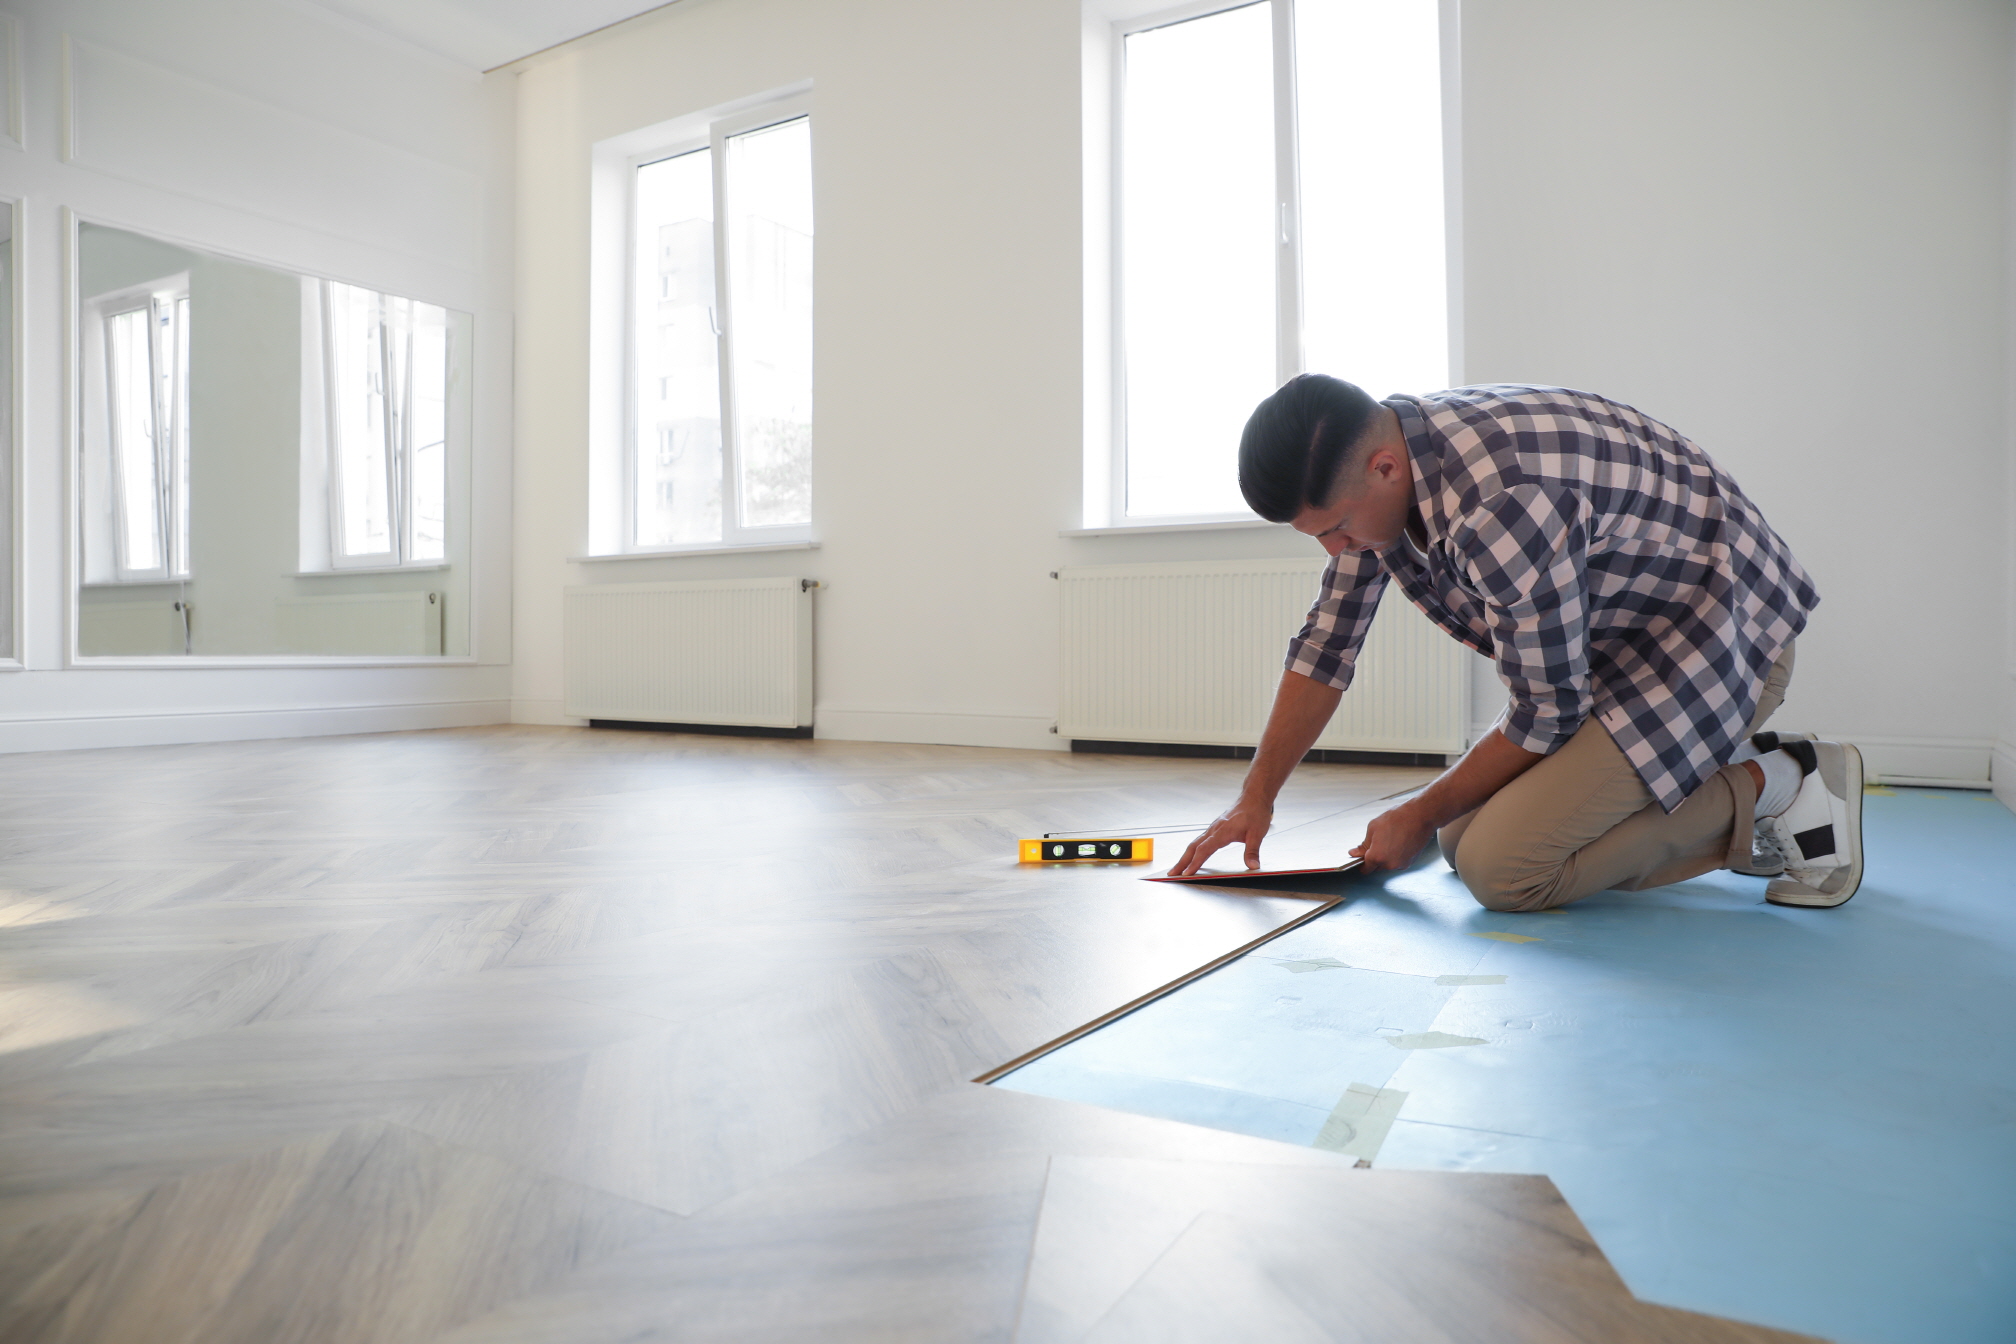
To create a pattern, start from the entrance area. Lay your planks parallel to the starting wall and progress towards the opposite side, experimenting with arrangement until satisfied. Remember, you can cut individual planks to fit smaller spaces as necessary.
Step 3: Prep Your Subfloor for Vinyl Planks
Clear the subfloor of any existing materials like carpet, tile, or linoleum. Clean the subfloor thoroughly and ensure its level and crack-free. Fill cracks with concrete filler and sand down uneven spots if needed. Optionally, install an underlayment for noise reduction and added comfort.
Step 4: Lay the First Row of Vinyl Plank Flooring
For click-and-lock vinyl plank flooring, trim the short tongue edge from the first plank and place it against the starter wall. Angle the second plank and insert its tongue edge into the groove of the first plank. Lower the second plank onto the floor, allowing them to snap into place.
In the second row, attach each plank to the ones in the first row and to each other. Repeat until the entire floor is covered.
Step 5: Cut for Odd Spaces
Trim planks to fit against walls or into corners accurately. Measure the area of the plank that needs cutting and use a utility knife to score repeatedly until excess material snaps off.
Step 6: Reinstall the Baseboards
Complete your project by reinstalling the baseboards. Fit them against the wall and reinsert nails into existing holes for a seamless finish.
Recommend other types of Vinyl Plank Flooring
In addition to click-and-lock planks, there are several other types of vinyl flooring available:
Peel-and-Stick Vinyl Plank Flooring
Equipped with adhesive backing strips, these planks eliminate the need for extra adhesives or tools. The installation involves peeling off the protective coating from the adhesive side and pressing the sticky surface firmly onto the floor to ensure proper alignment and spacing between planks. Using a hand roller ensures optimal adhesion, eliminating air bubbles and securing a bond with the subfloor.
Adhesive or Glue-Down Vinyl Plank Flooring
These planks stand out from other flooring options as they require the use of external adhesive material, like specialized flooring glue, for secure adhesion to the subfloor. This method provides a dependable and durable choice for flooring installations, particularly in high-traffic areas or where additional stability is needed.