Is your outdated vinyl tile flooring bringing your whole room down? Maybe it’s cracked, peeling, or just a style remnant from a bygone era.
Whatever the reason, you’re ready for a fresh start. But before you get excited about installing those dream floors, one crucial step is removing the old vinyl tiles.
This guide will walk you through everything you need to know about how to remove vinyl tile flooring, from gathering the right tools to tackling stubborn adhesive.
Evaluate Your Floor
Before diving into the removal process, take a moment to evaluate your vinyl tile floor. Look for damaged or loose tiles that require extra attention during removal.
Consider the age of the flooring- vinyl flooring removal for older tiles may be more challenging. In addition, older vinyl flooring may contain asbestos. Manufacturers stopped using this dangerous material in flooring around the mid-1980s to the 1990s.
If your tiles are older, consider talking to a professional for help with safely removing your flooring.
Tools and Materials Needed
With vinyl tile flooring removal, having the right tools and materials is essential. You’ll need a few key items to make the process easier and more efficient.
- Heat source (e.g., a hair dryer or heat gun)
- Putty knife or scraper
- Gloves and safety glasses
- Baking soda
- Soapy water
- Rags or sponges
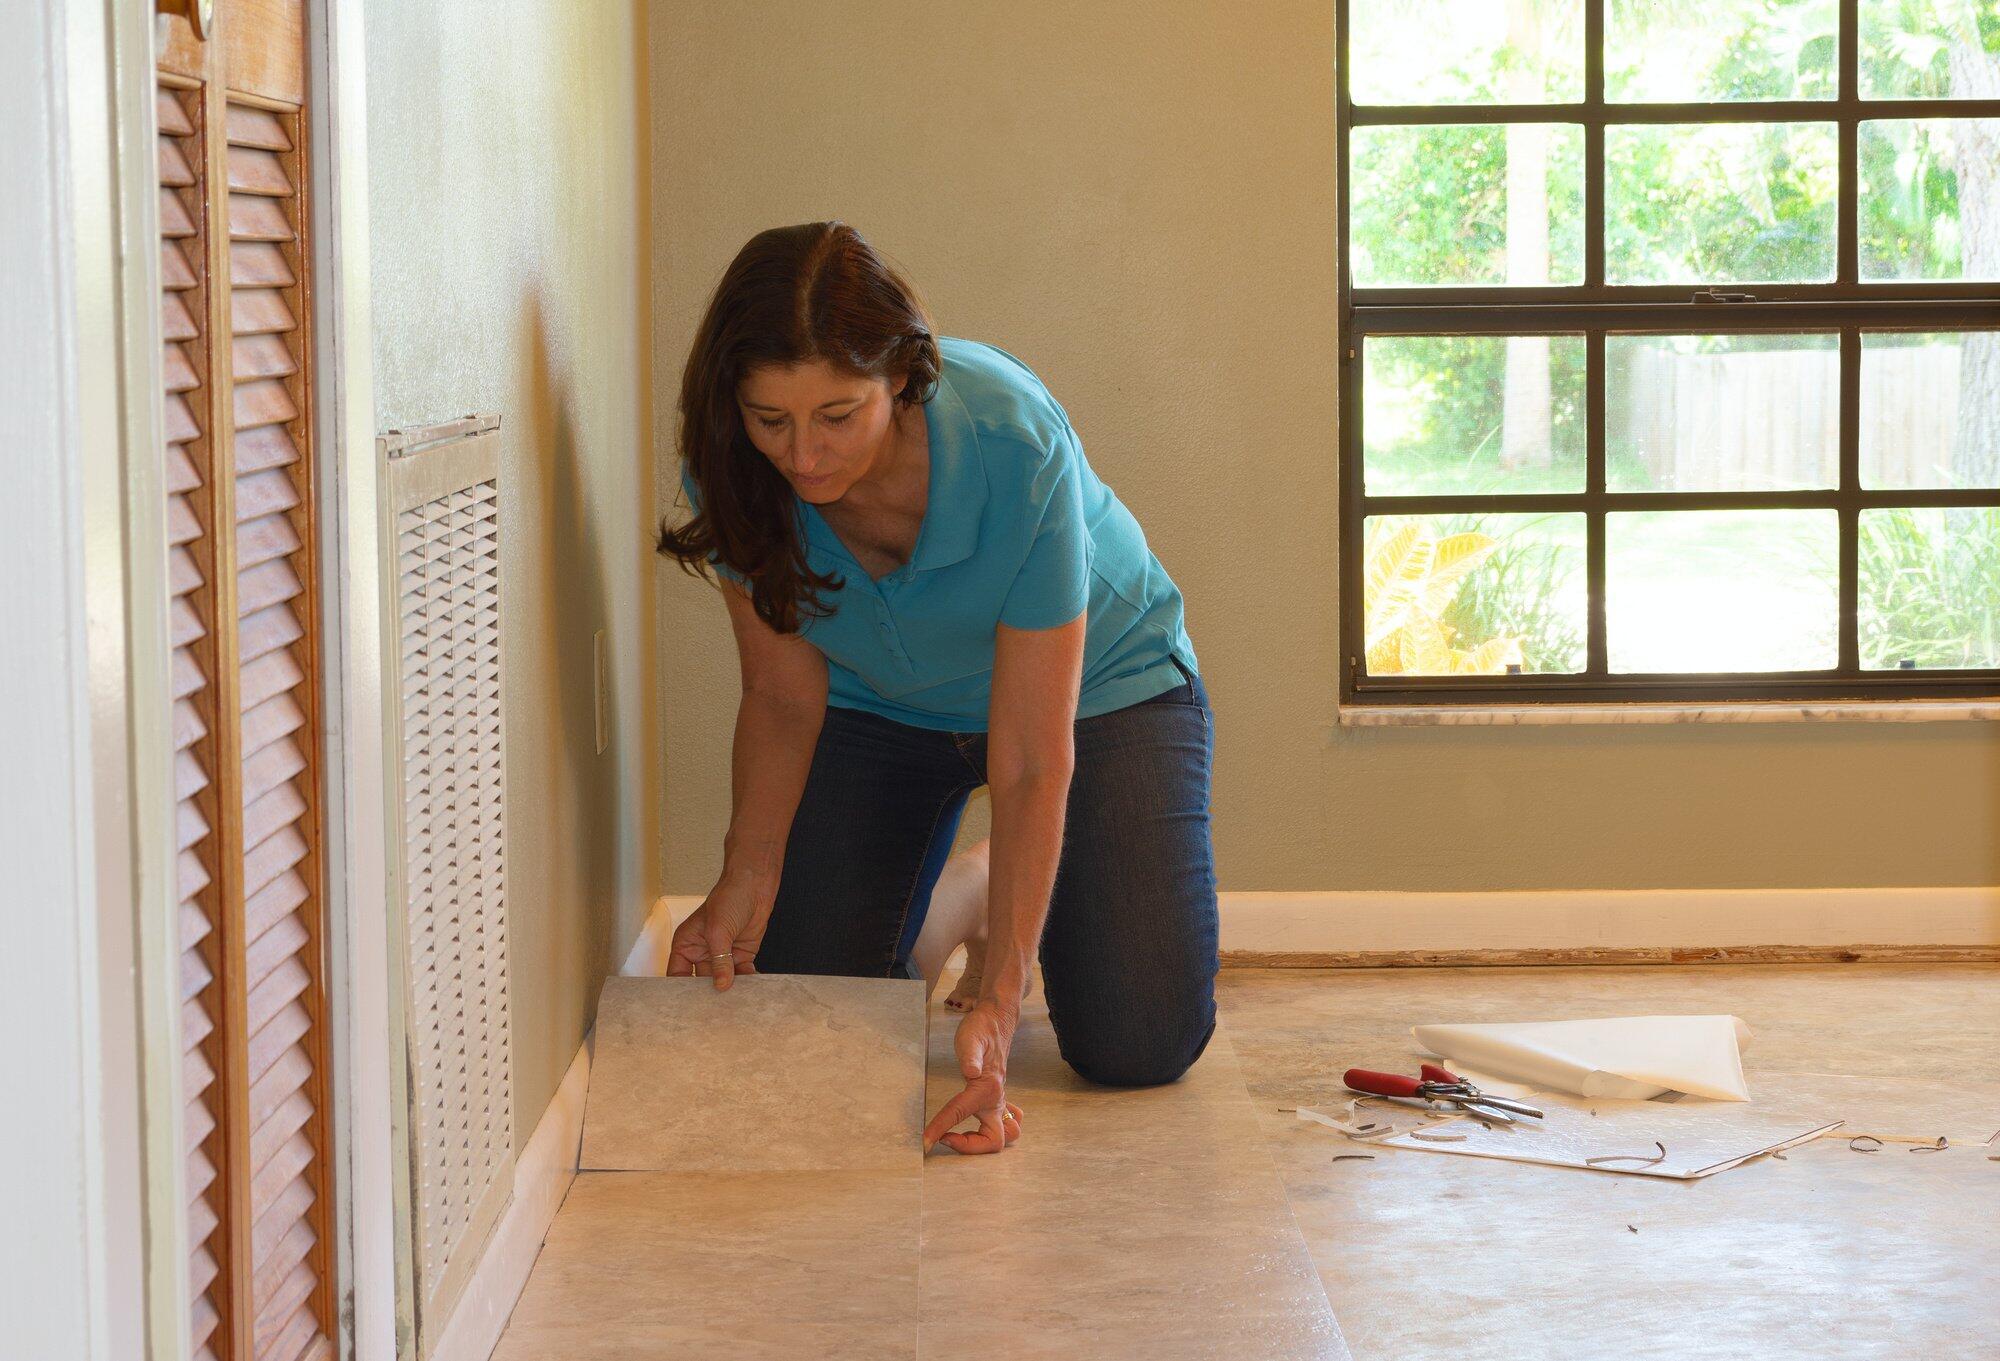
How to Remove Vinyl Tile Flooring
What are the steps for a vinyl tile floor removal? Follow these steps for vinyl flooring removal.
Heat the Tile
Move the heating appliance back and forth over a small section of a tile for about 30 seconds. This will warm up the adhesive, allowing you to lift an edge easily with a putty knife or scraper.
Lift an Edge
This process may seem simple, but it requires a gentle touch to avoid damaging the subfloor underneath. Start by carefully prying up one corner of the heated tile with a putty knife or scraper.
Remove the Tile
Slowly peel back the tile while applying gentle pressure to release it from the floor. As you work your way across the tile, continue lifting and pulling until the entire piece is free.
Apply Baking Soda
Baking soda is an adhesive remover. Its gentle abrasiveness helps break down the stickiness left behind without damaging the floor.
Sprinkle a generous amount of baking soda over the leftover adhesive. Make sure to cover it evenly so that it can work its magic effectively. Let it sit for some time to penetrate and loosen the sticky residue. sophie raiin nude
Using a damp cloth or sponge, gently scrub the area where you applied baking soda.
Repeat as Needed
After successfully removing one tile using the heat and edge-lifting technique, it’s time to apply the same method to adjacent tiles. The process might feel repetitive, but consistency is key to achieving a smooth and thorough removal.
Clean Up Adhesive
Your final step is to clean up any leftover adhesive. This will help prepare your floor for new tiles.
Replace Your Vinyl Tile With LX Hausys
With these tips about how to remove vinyl tile flooring in mind, you’ll soon have a clean slate ready for new flooring options.
At LX Hausys, we create eco-friendly and human-friendly products. Our luxury vinyl tile can help you create a space you’ll love. Contact us to discuss your project.