Vinyl is a scratch-resistant, waterproof, and durable flooring material. It’s cost-effective and comes in a wide range of colors.
Installing vinyl flooring in your home is a great way to spruce it up both functionally and aesthetically. Read on for a step-by-step guide to follow when doing this.
Step 1: Assemble the Essential Tools
A tile cutter is the first tool you’ll need to cut planks from vinyl. It has a sharp guillotine blade that lets you make clean cuts. The proper tool is essential because a normal saw or knife will cause chipping and vinyl ears.
However, if you want to cut odd shapes rather than just straight lines, you can use a jigsaw instead.
You’ll also need a utility knife, measuring tape, a square tool, and a straightedge.
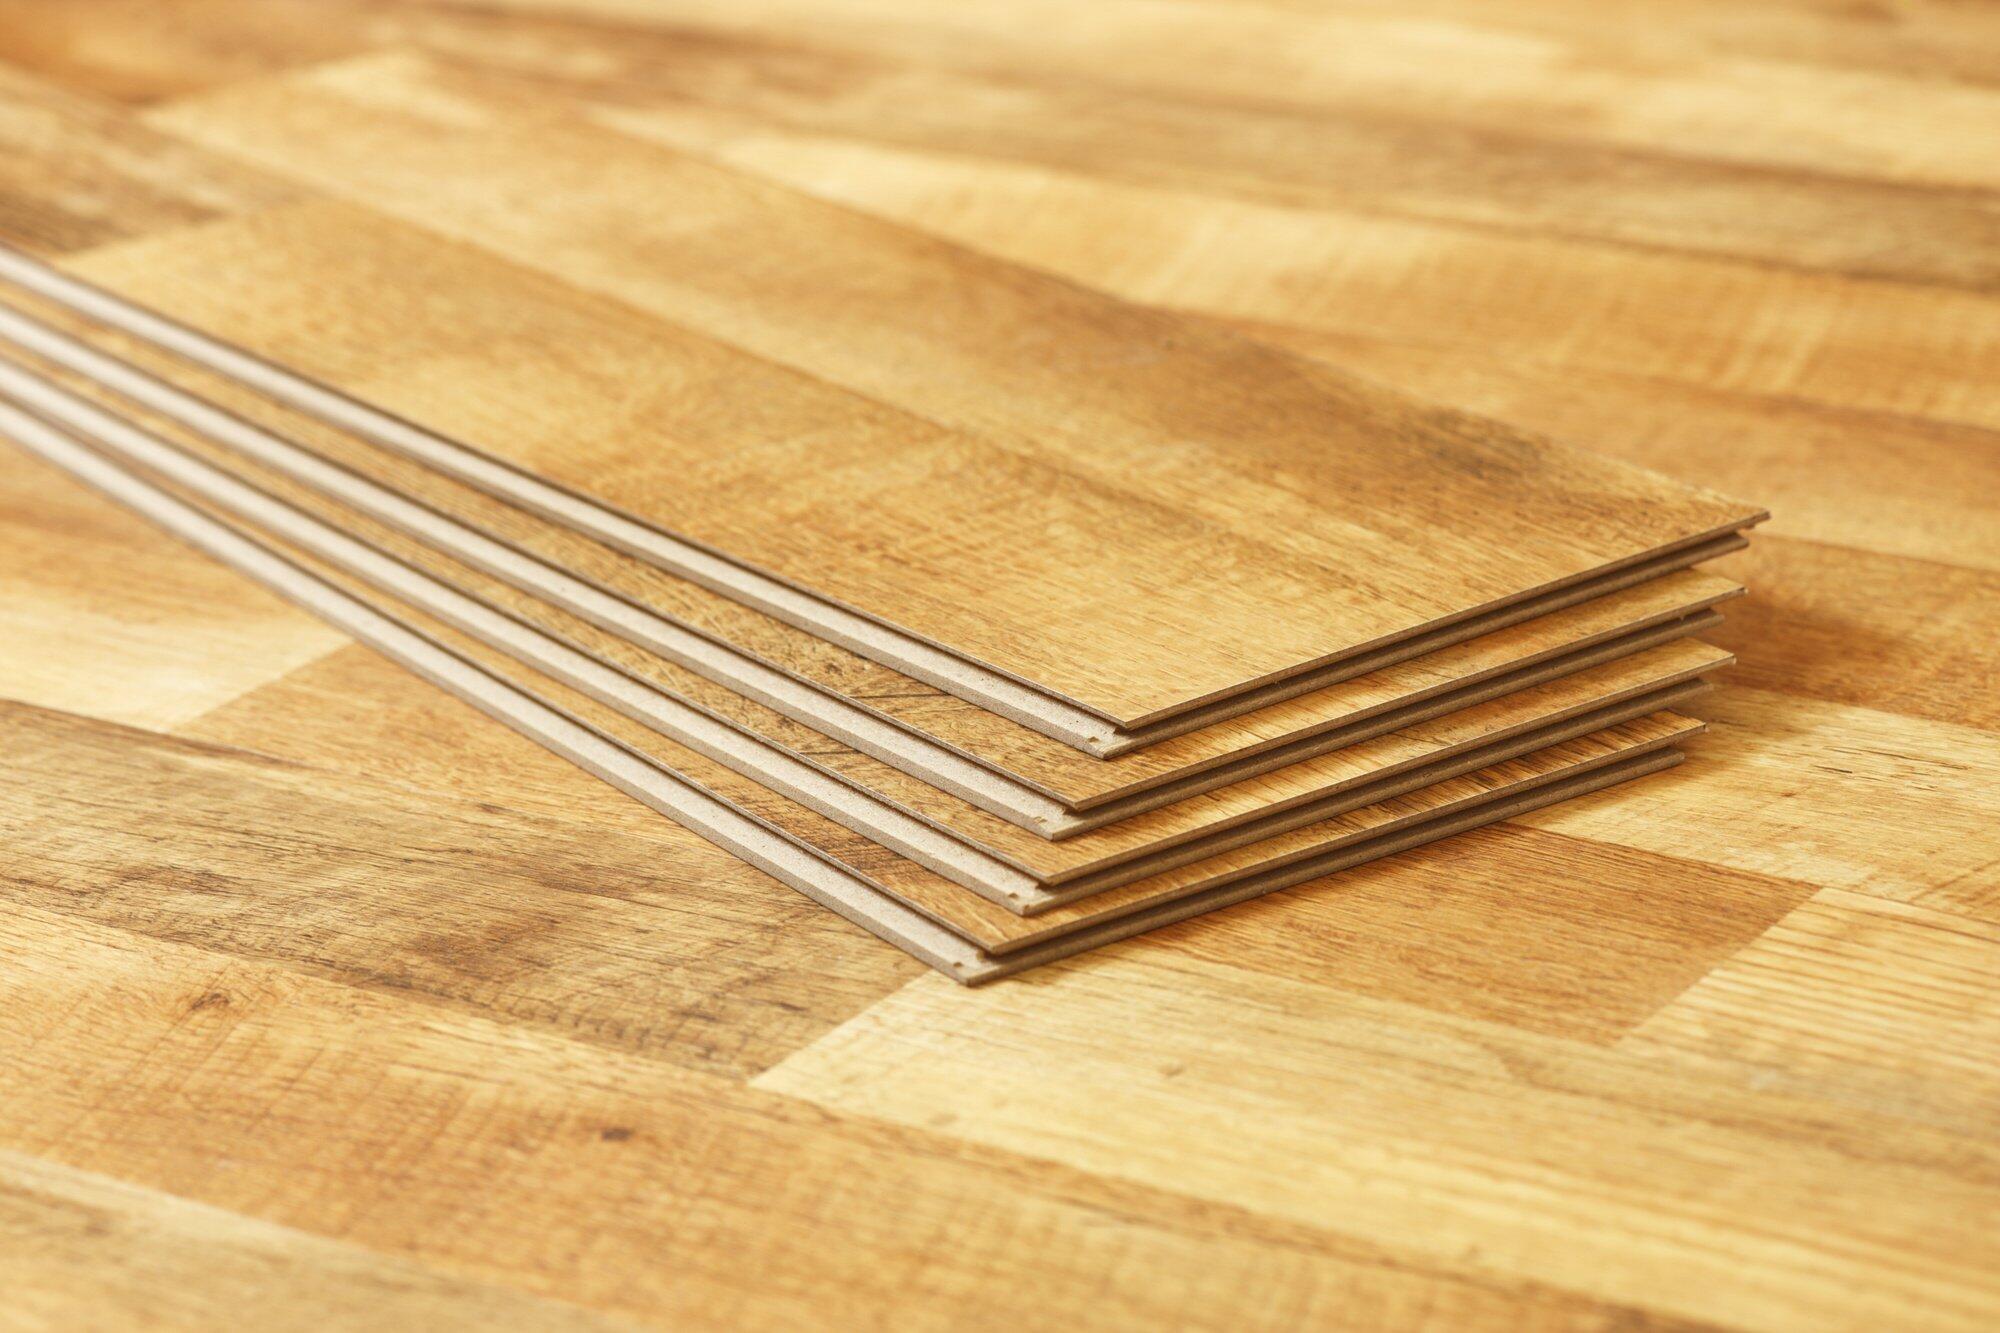
Step 2: Prepare the Vinyl Surface for Cutting
Wipe the vinyl surface with a soft damp cloth. Dry it with another soft cloth. Then, place it on a flat surface like a workbench or countertop.
Step 3: Marking and Measuring
Take your tape measurer and measure how long you need the plank to be. You can do this by measuring the floor space and determining square feet.
Measure it out on the vinyl precisely. Put your straightedge alongside the measurement and make a sharp cut where the plank should start and stop.
Step 4: Scoring and Snapping for Smaller Pieces
Then, score the vinyl plank with deep cuts in all of the areas you plan to cut it fully. These cuts will be done with the utility knife and won’t go through the vinyl all the way. Make sure that the knife makes a prominent cut by scoring the plank up to 2/4.
Flip the plank over. Hold the piece of plank firmly and snap it in the scored spots.
Step 5: Employ Relief Cuts for Precision
Look for recessed areas and raised spots that can create tension in the vinyl. Get out your chosen tool (guillotine blade, jigsaw, etc). Apply relief cuts to each of these spots to prevent an uneven or warped surface.
Step 6: Utilize a Jigsaw for Lengthwise Cuts
Your jigsaw is a manually operated tool that lets you make uneven cuts and odd corners perfectly. You will need a quality blade with fine teeth.
Take it out and make all lengthwise cuts with it precisely. This prevents weird, uneven cuts and ensures that the measurement will be precise.
Step 7: Test Fitting and Final Adjustments
Once you’ve cut your vinyl, take it to the place where you plan to install it. Put it down and make sure that it fits within the area. If there are any imperfections, take it back to the workshop and cut it to the precise size you need.
Step 8: Installation and Safety Measures
Finally, it’s time to remove your baseboards and molding, prep your subfloor to accommodate vinyl planks, and lay the plank down. Install the vinyl effectively with quality adhesives. Reinstall the baseboards and admire your gorgeous new flooring!
Install Vinyl Flooring the Right Way
Installing vinyl flooring properly may sound challenging, but it’s easy when you break it down into steps. Now that you know the ins and outs of vinyl flooring installation, it’s time to work on your next project with expert help. Contact LX Hausys to discuss your individual needs!